遥感实验:图像的融合与镶嵌
一、实验背景
图像融合是将低空间分辨率的多光谱图像或高光谱数据与高空间分辨率的单波段图像重采样,生成一副高分辨率多光谱遥感图像的图像处理技术,使得处理后的图像既有较高的空间分辨率,又具有多光谱特征。
图像融合的关键是融合前两幅图像的精确配准以及处理过程中融合方法的选择。只有将两幅融合图像进行精确配准,才可能得到满意的结果。
图像镶嵌指在一定数学基础控制下,把多景相邻遥感图像拼接成一个大范围、无缝的图像的过程。
二、实验目的
1.通过实验操作,掌握遥感图像融合的方法,理解遥感图像融合的意义。
2.通过实验操作,掌握有地理参考的图像镶嵌方法和基于像素的图像镶嵌方法,理解遥感图像镶嵌的意义。
三、实验数据
1.图像融合:bldr_sp.img、qb_boulder_msi.img、qb_boulder_pan.img、TM-30m.img;
2.图像镶嵌:mosaic1.img、mosaic2.img。
四、实验步骤
(一)图像融合
方法一:Brovey变换
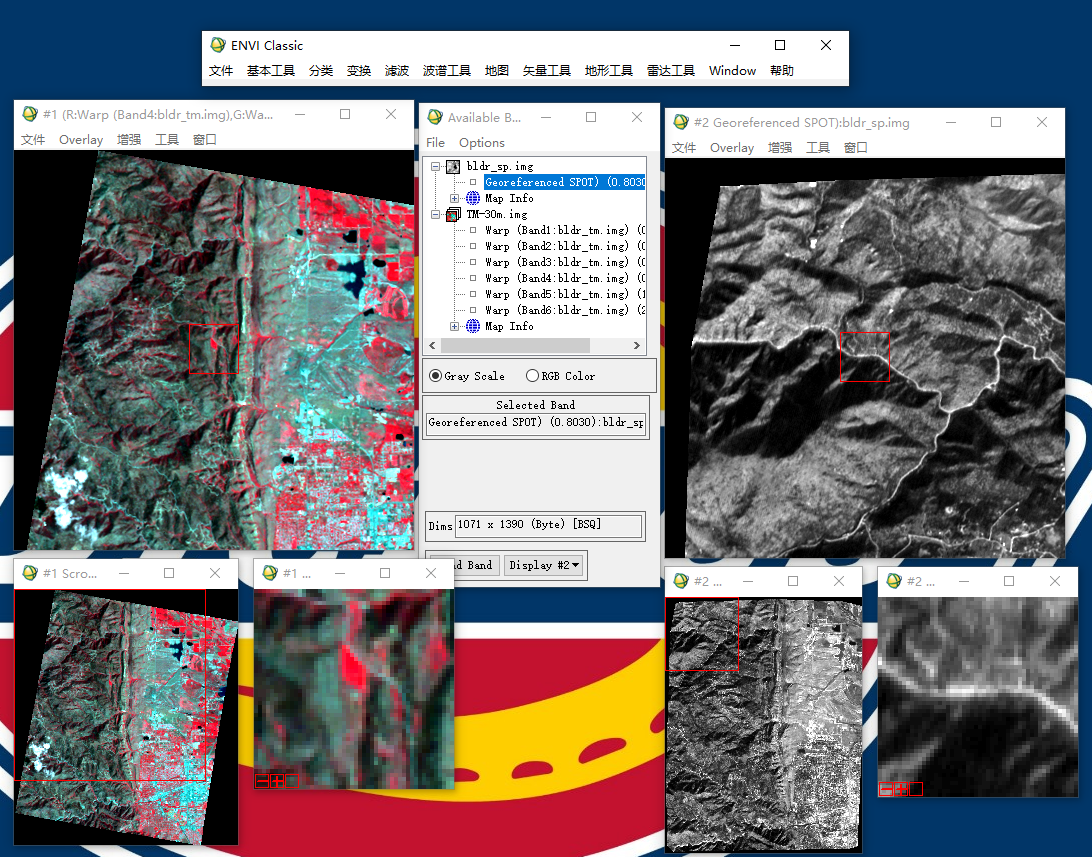
1.打开融合的两个文件(TM-30m. img和bldr_ sp. img),将TM-30m.img显示在Display中。
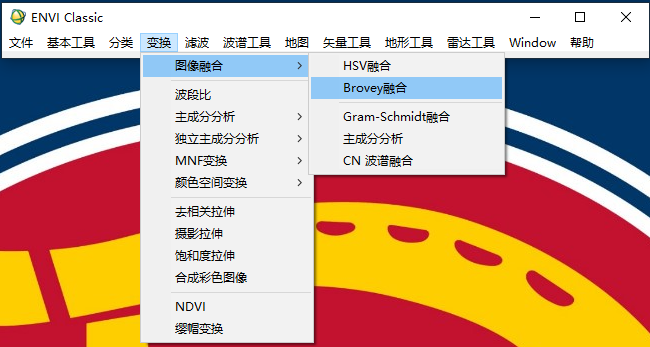
2.选择主菜单-变换-图像融合- Brovey融合。
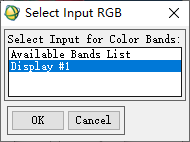
3.在Select Input RGB对话框中,选择Display窗口中选择RGB, 单击OK按钮。
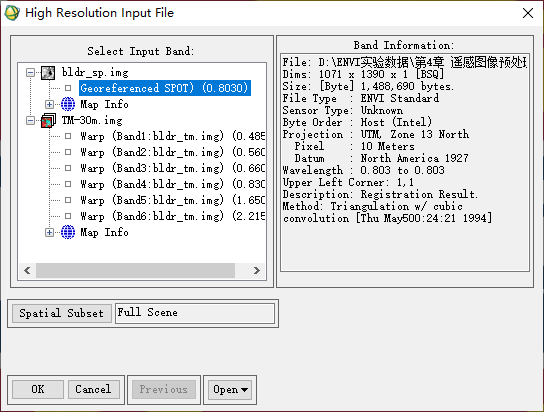
4.在弹出来的High Resoulution Input File中选择bldr_sp.img,单击OK按钮。
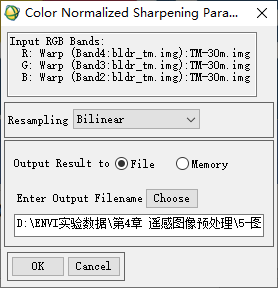
- Color Normalized
(Brovey)输出对话框中,选择重采样方式Bilinear和输出文件路径及文件名,点击OK按钮输出结果。
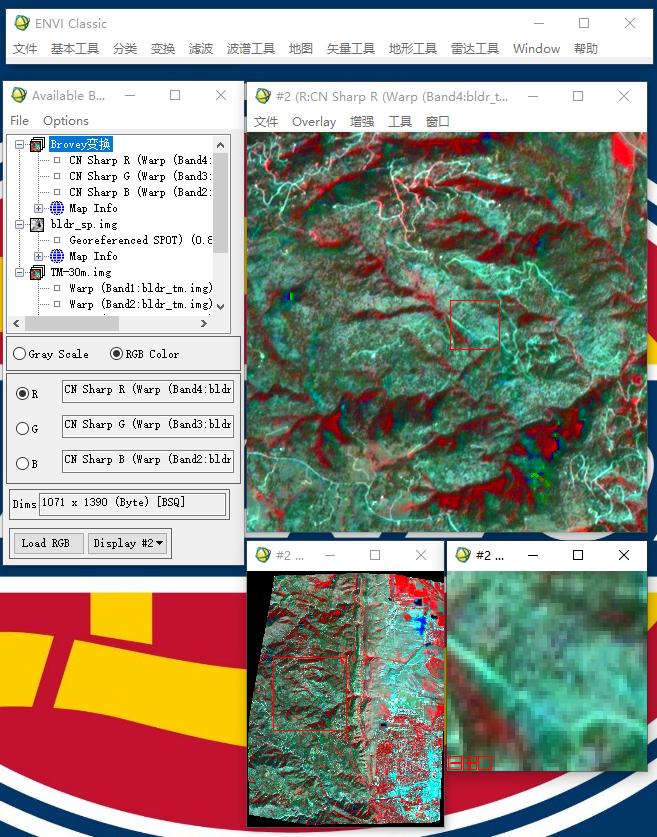
6.显示融合后的结果。
方法二:Gram-Schmidt法
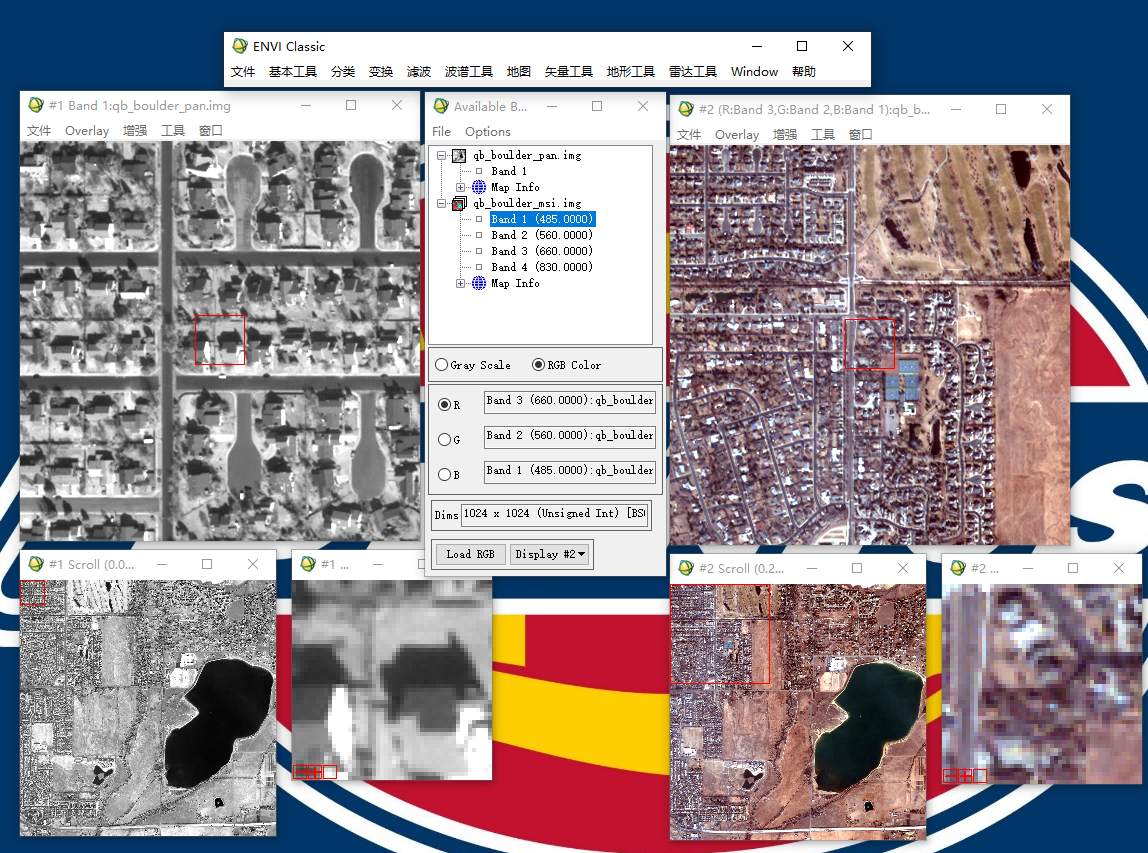
1.打开融合的两个文件(qb _boulder_ msi. img和qb_boulder_ pan. img)。
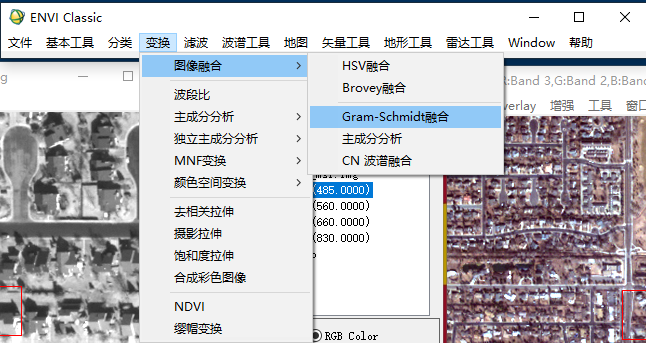
2.选择主菜单-变换-图像融合-Gram-Schmidt融合。
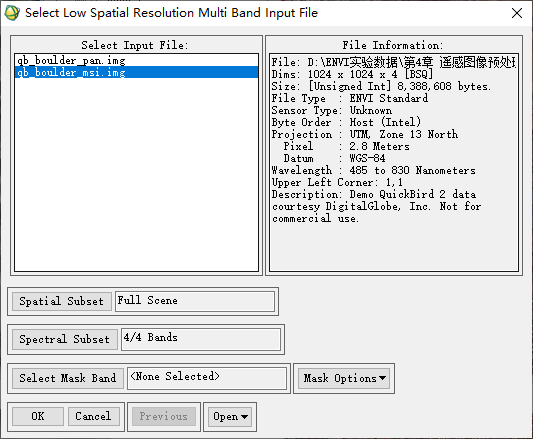
- 在Select Low Spatial Resolution Multi Band Input
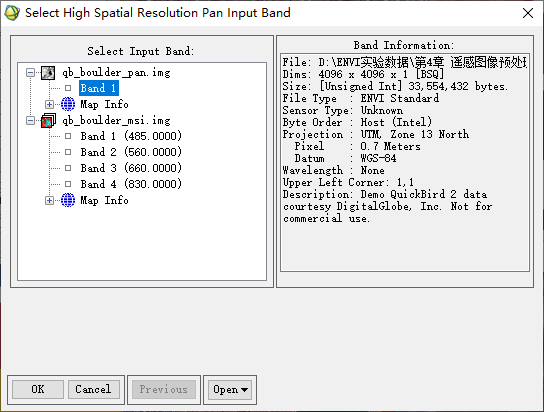
File对话框中选择低分辨率多光谱图像qb_boulder_ msi. img,在Select High Spatial
Resolution Pan Input Band对话框中选择高分辨率单波段图像qb_ boulder_ pan. img。
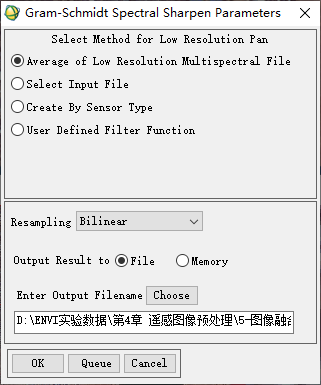
4.在弹出的Gram-Schmidt Spectral
Sharpening输出对话框中选择降低高分辨率全色波段的方法,这里选择Average of Low
Resolution Multispectral
File方法。然后选择重采样方法Bilinear和输入路径及文件名, 单击OK按钮输出。
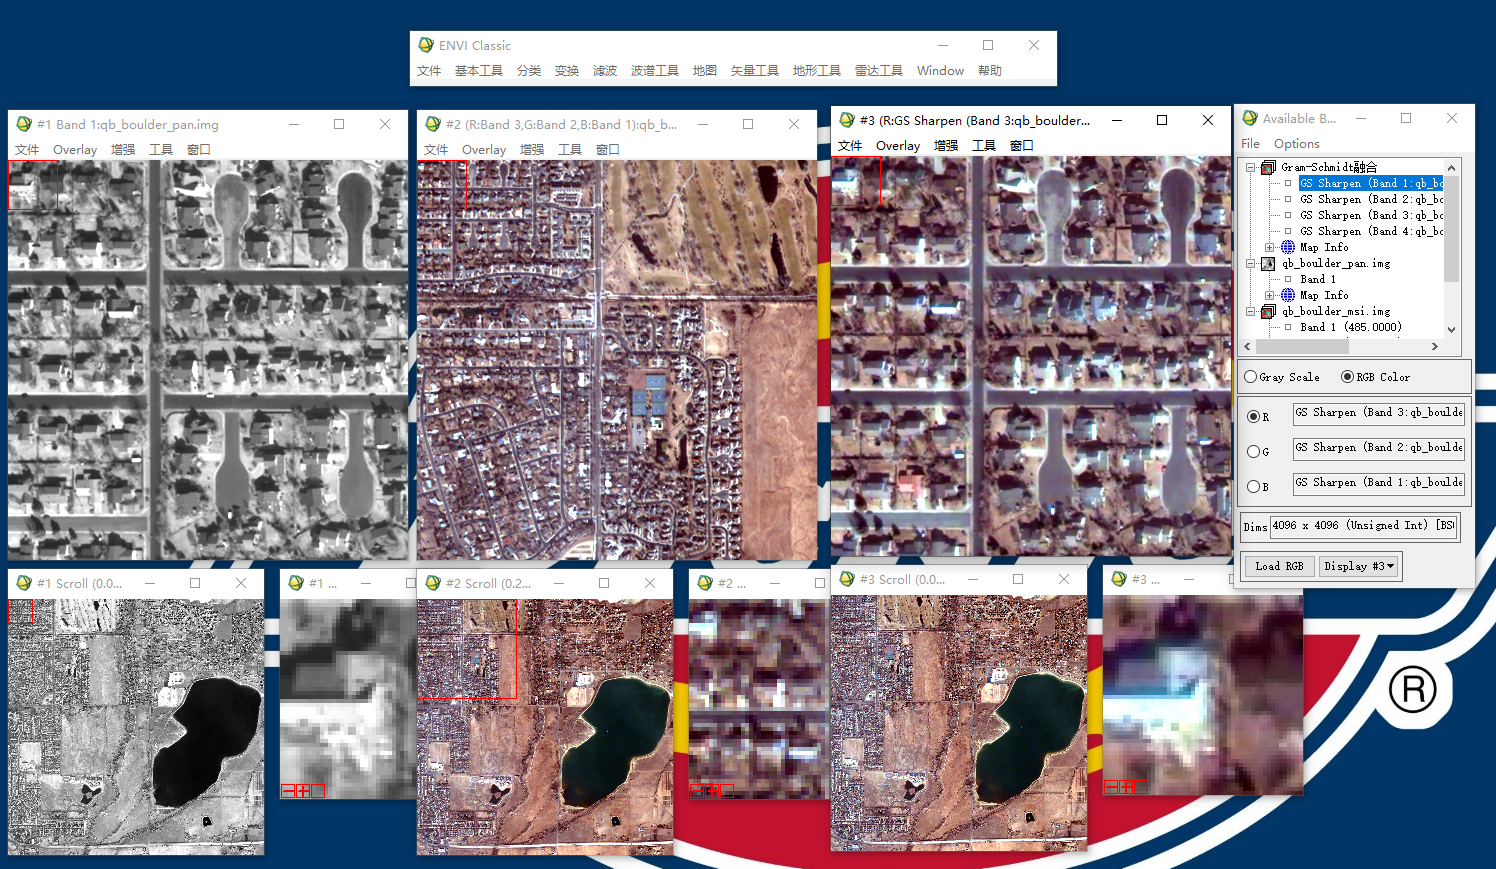
5.显示融合后的结果。
(二)图像镶嵌
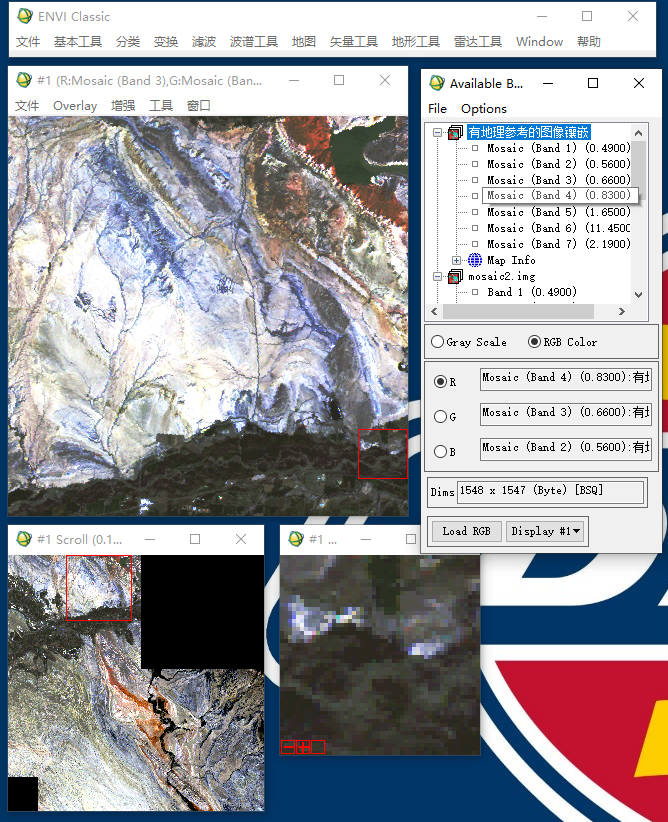
类型一:有地理参考的图像镶嵌
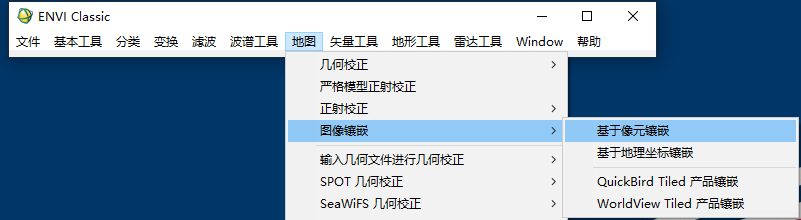
- 启动图像镶嵌工具。在ENVI 主菜单中,选择地图-图像镶嵌-基于地理坐标镶嵌,
打开Map Basic Mosaic对话框。

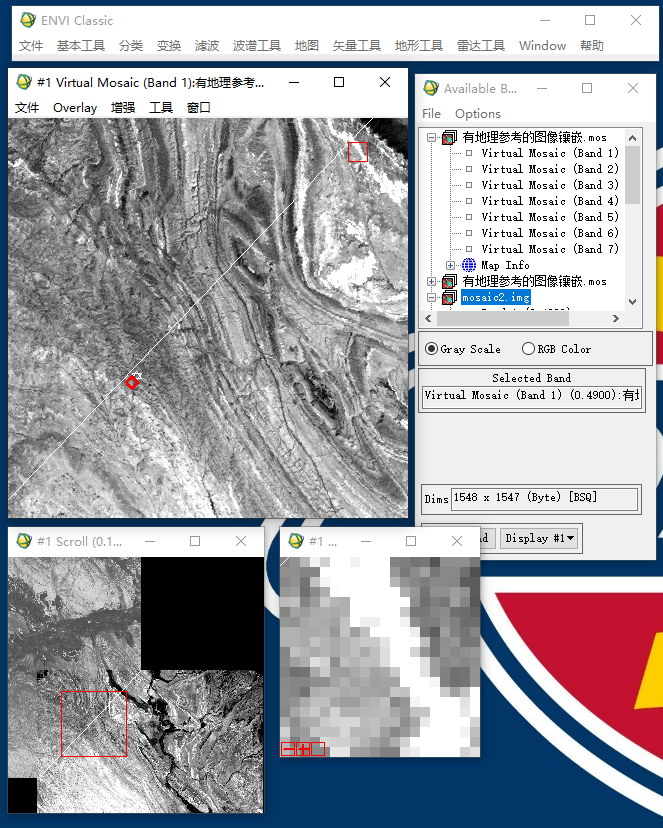
- 加载镶嵌图像。在Mosaic对话框中,选择Import-Import Files, 选择mosaic1.
img和mosaic2. img镶嵌文件导入。
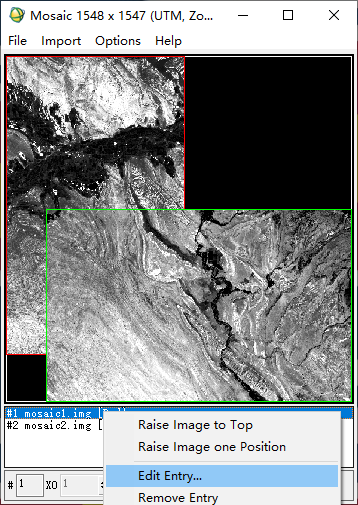
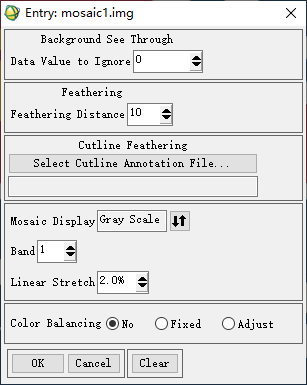
3.图像重叠设置。选择文件列表中一个文件,单击右键选择Edit Entry。在Edit
Entry对话框中,设置Data Value to Ignore, O, 忽略0值。设仅Feathering
Distance为10,即羽化半径为10个像素。
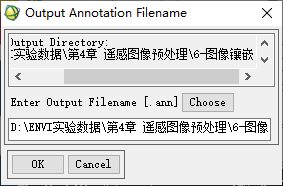
- 切割线设置。在Mosaic 对话框中,选择File-Save Template, 选择输出路径和文件名。
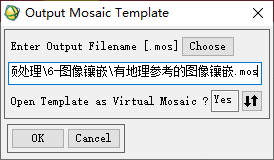
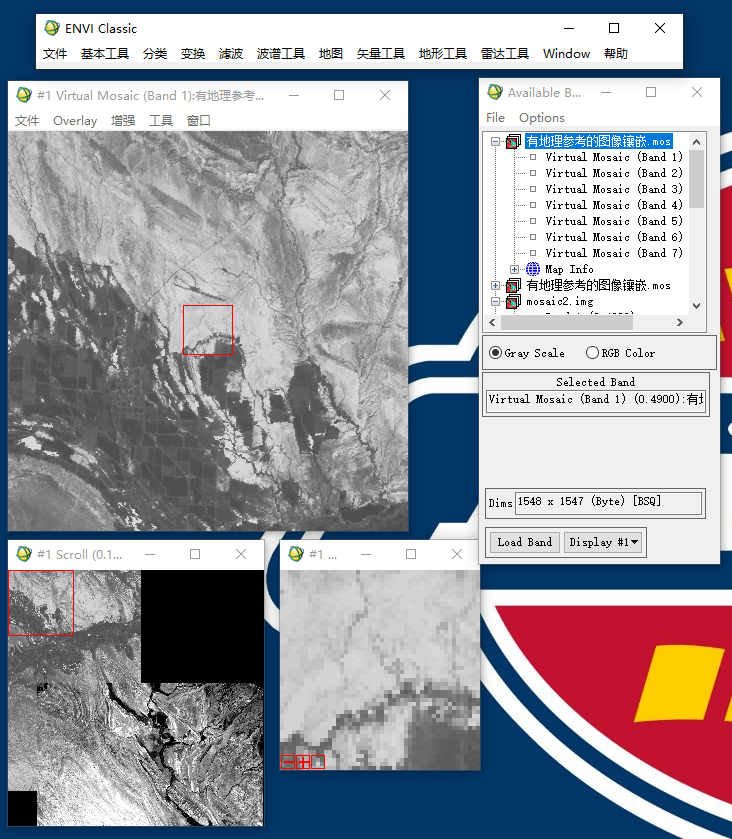
5.将模板文件显示在Display 中。
6.在Display 中,选择Overlay-Annotation, 在前种区绘制一条折线当作切割线。
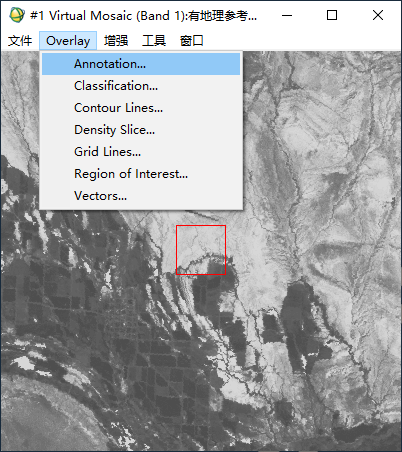
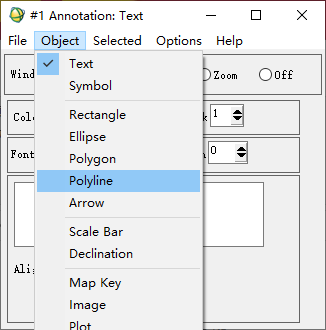
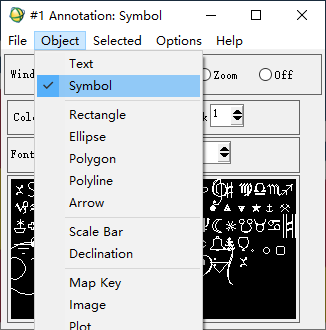
绘制一个Symbol 放在切割线一旁,标示这部分将被裁剪,注意单击两次右键以完成Symbol
注记的绘制。
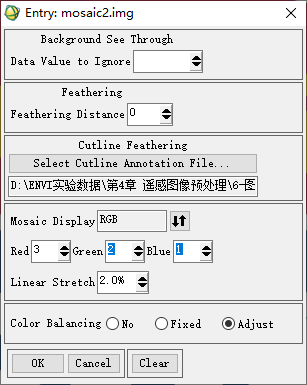
7.保存注记文件。回到Mosaic 对话框中, 在文件列表最下面文件单击右键, 选择Edit
Entry。在Entry 参数对话框中,单击Select Cutline Annotation File
按钮,选择前面生成的注记文件,单击Clear 按钮可以清除注记文件。
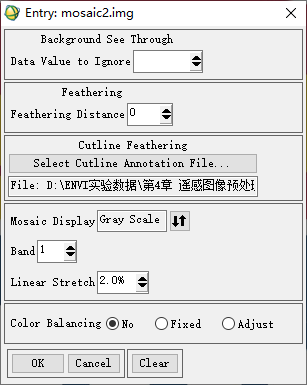
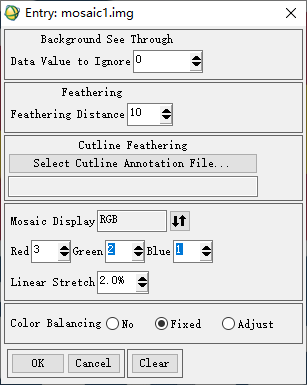
- 颜色平衡设置。首先确定一个图像当作基准,在文件列表中选择这个图像,
单击右键选择Edit Entry, 打开Entry 对话框。将Mosaic Display 设仅为RGB,
并选择波段合成RGB 图像显示。选择Color Balancing 参数: Fixed,
作为基准图像。同样的方法对其他图像文件进行设置, 选择Color Balancing 参数:
Adjust。
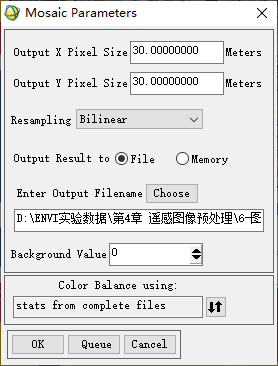
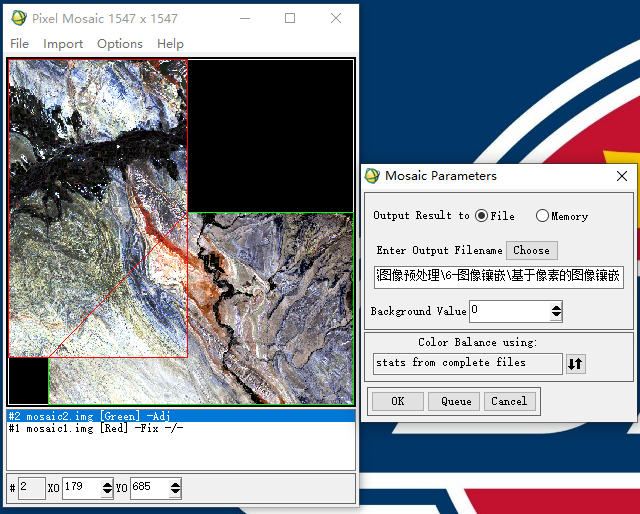
- 输出结果。在Mosaic对话框中,选择File-Apply,在Mosaic
Parameters对话框中,设置输出像元大小、重采样方式、文件路径及文件名、背景值。其中,Color
Balance using选项中,默认的是统计重叠区的直方图,可以单击

按钮切换到统计整个基准图像的直方图用于颜色平衡。
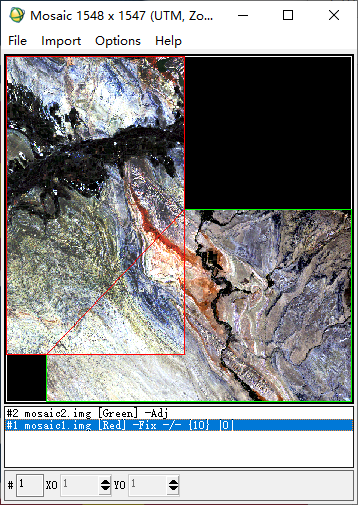
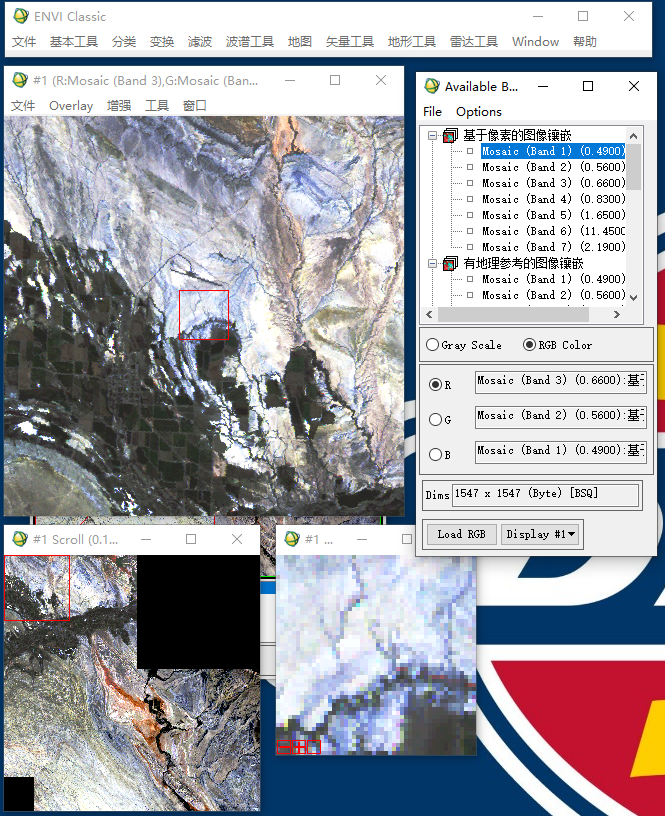
10.显示镶嵌后的结果。
类型二:基于像素的图像镶嵌
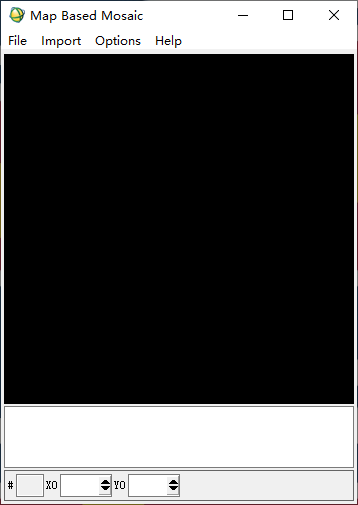
- 启动图像镶嵌工具。选择菜单,选择地图-图像镶嵌-基于像元镶嵌,打开Pixel Basic
Mosaic对话框。
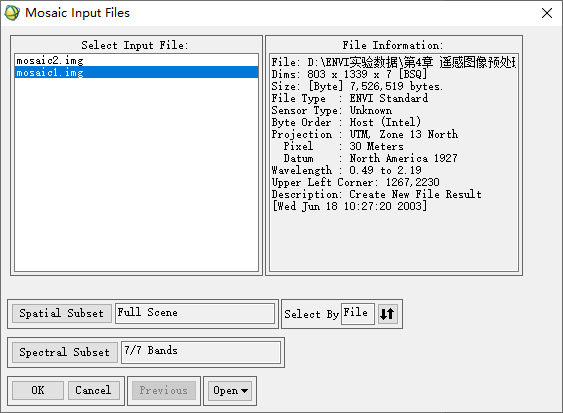
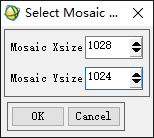
- 加载镶嵌图像。在Mosaic对话框中,选择Import→Import
Files,选择相应的镶嵌文件导入。在Select Mosaic
Size对话框中,指定镶嵌图像的大小,这个可以通过将所有镶嵌图像的行列数相加,得到一个大概的范围。这里在“X
Size”中输入1028,“Y Size”中输入1024。
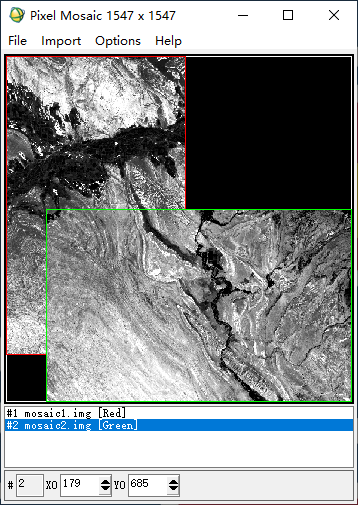
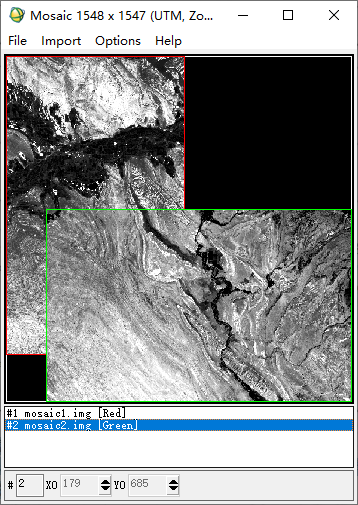
3.调整图像位置。在Mosaic对话框的下方X0文本框和Y0文本框输入像素值,调整图像位置。也可以在图像窗口中,点击并按住鼠标左键,拖曳所选图像到需要的位置,然后松开鼠标左键就可以放置该图像了。如果镶嵌区域大小不合适,选择Options→Change
Mosaic Size,重新设置镶嵌区域大小。
其他步骤和有地理参考的图像镶嵌类似。
4.显示镶嵌后的结果。
五、实验总结
通过这次实验我学习到了图像融合与镶嵌的不同方法,不同的方法适用于不同的场合。
在实验过程中有一处没有注意图层的顺序导致最后导出报错,接下来的实验应该更加细心。